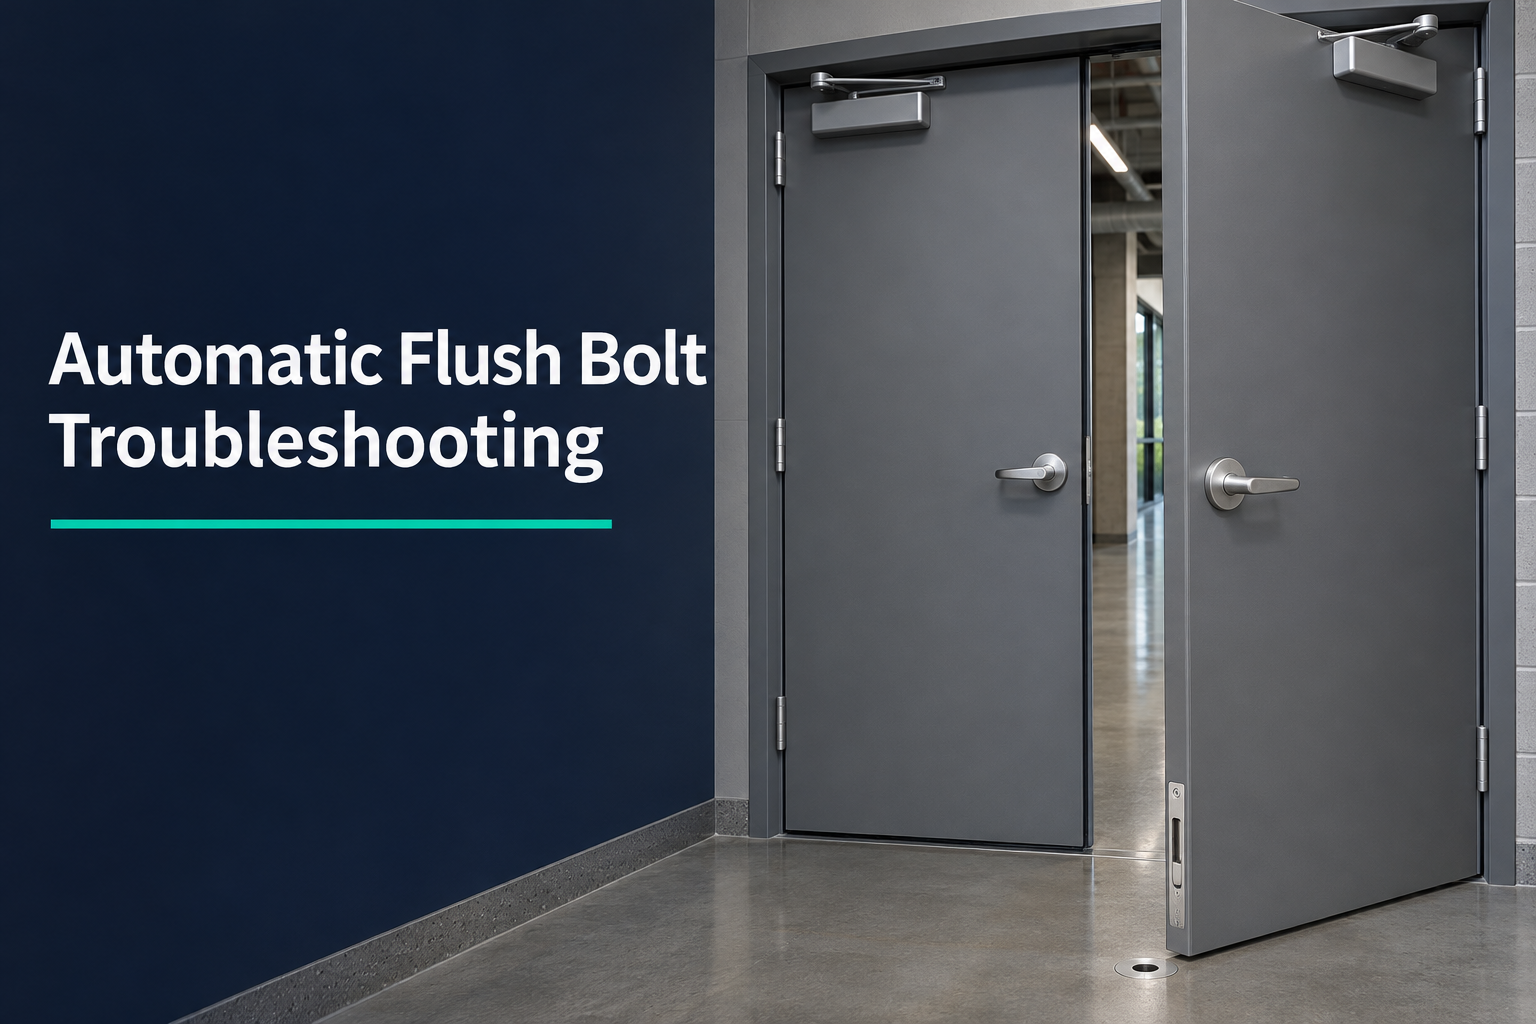
An automatic flush bolt can fail to engage even when a pair of doors looks closed. The bolt may stop short of its strike, hit the rim, or stay retracted because the active leaf never reached the actuator. These faults can look similar from the corridor, but each calls for a different check.
This guide helps door installers, maintenance teams, and project supervisors trace the fault on commercial double doors. Start by identifying which bolt misses. Then separate a problem with the closing sequence from a problem with bolt travel or strike alignment.
Quick Answer
Only the top bolt misses. Check where it meets the head strike. Look for a rub mark and confirm the leaf is seated.
Only the bottom bolt misses. Check the floor strike for debris, a shifted socket, or a change in floor height.
Both bolts stay retracted. Watch which leaf closes first. Then check whether the active leaf reaches the bolt actuators as designed.
A bolt moves but stops at the strike. Compare the bolt path and strike position with the model template before changing the rod setting.
How an Automatic Flush Bolt Engages
In the configuration covered here, the active leaf opens for regular use. The inactive leaf carries the upper and lower bolts. The inactive leaf seats first, and the active leaf then operates the bolt actuators as it closes. The upper bolt enters the head strike, and the lower bolt enters the floor strike.
Identify the hardware from the door schedule or its markings before testing automatic flush bolts for double doors. Some openings use a self-latching top bolt or a different lower arrangement. Confirm how the installed model should extend and release so you can judge what you see.
Where Is the Automatic Flush Bolt Failing?
Observe a normal closing cycle from a safe position. Note whether the inactive leaf reaches its seated position, which leaf closes first, and where the bolt stops. If the strike hides the bolt tip, look for rub marks after opening the door. Use the model instructions for any separate bolt-travel test.
| Symptom | Start here | What the observation tells you |
|---|
| Only the top bolt misses | Head strike, upper door gap, and top bolt travel | A mark on the strike rim points to possible misalignment. Short travel with the path clear points back to the bolt or its actuation. |
| Only the bottom bolt misses | Floor strike, socket opening, and finished floor level | A bolt that reaches the floor but stops at the rim needs an alignment check. A centered bolt that stops early may be meeting an obstruction or a shallow recess. |
| Both bolts stay retracted | Leaf closing order and actuator contact | The active leaf may be stopping short or arriving before the inactive leaf is seated. |
| Both bolts extend but miss | The seated position of the inactive leaf and both strike locations | Check the door and frame geometry before treating the two strikes as separate faults. |
When Only the Top Bolt Misses the Head Strike
Open the inactive leaf and look for fresh rubbing around the head strike. Compare the bolt's path with the strike opening when the leaf is fully seated. If the tip hits one side, check the hinge condition, the gap at the head, and whether the leaf sits square to the frame. The Steel Door Institute's troubleshooting guide explains how uneven clearances can help identify door sag on steel doors.
If the tip lines up with the opening but stops short, compare top bolt travel with the installed model's instructions. Check whether the actuator reaches its normal position and whether the bolt moves freely during the specified test. Any rod adjustment should follow the model instructions and preserve the required retraction as well as engagement.
When Only the Bottom Bolt Misses the Floor Strike
Inspect the floor strike after opening the door. Dust, grit, or flooring residue can block the recess. If the installed assembly uses dust-proof strike sockets, check the socket opening and any moving insert for debris or damage. Confirm that any replacement socket matches the bolt and the opening.
Suppose the upper bolt works and the lower tip starts hitting the rim after a new floor finish is installed. First check the socket position and finished floor height against the seated leaf and the hardware template. If the tip hits the rim, investigate alignment. If it enters the opening but stops before the specified engagement, inspect the recess for an obstruction and check its available depth. These observations tell you whether to review the strike location or the bolt travel.
When Both Bolts Fail to Engage
When both leaves have been opened, watch the last part of the closing cycle. On an opening fitted with a door coordinator, confirm that the inactive leaf seats before the active leaf reaches it. If the active leaf arrives first, it can interfere with the inactive leaf's travel or reach the actuators before the bolts line up with the strikes.
Compare that result with normal operation when the inactive leaf is already seated. If the bolts engage in that condition but fail when both leaves close, focus on the sequence and what prevents the inactive leaf from seating. If both bolts still stay retracted, inspect where the active leaf meets the actuators. Look for a loose or displaced contact plate, an uneven meeting-edge gap, or interference from a seal or overlapping trim.
What to Verify After the Correction
Cycle the opening through its normal use. Check that the active leaf closes and latches, and that both bolts engage where the hardware schedule calls for them. Then confirm the bolts retract as designed when the active leaf opens and the inactive leaf is released for normal use. If the symptom returns only when both leaves operate, record the sequence and where the cycle stops.
On a fire-rated opening, use the applicable requirements and approved assembly instructions to guide the repair. The NFPA checklist for swinging fire doors, based on the 2019 edition of NFPA 80, includes functional latching and closing order among its inspection checks. Report a failed latching check to the responsible facility team and confirm the permitted repair before relocating a strike, altering the door or frame, or changing hardware.
Conclusion
Identify the first failure in the closing cycle. For a single bolt that misses, compare that bolt's travel and strike position. When both bolts fail, check how the leaves seat and make actuator contact. Record the affected end, the closing order, and what the bolt does at the strike before deciding on the correction.
Need help matching a flush bolt or strike to your door pair?
Send D&D Hardware the opening ID, hardware model, photos of both strikes and the meeting edges, and a brief description of the failure. Request flush bolt support.
FAQ
Why Is My Automatic Flush Bolt Not Engaging After a Floor Replacement?
The new finish may change the height or position of the floor strike. Check whether the bolt hits the rim, enters the opening and bottoms out, or stops short of the opening. Each observation calls for a different check.
Can the Active Door Latch While an Automatic Flush Bolt Is Still Out of Its Strike?
Yes. The active leaf can latch at the meeting edge while a flush bolt on the inactive leaf misses its head or floor strike. Verify the required engagement at both ends during the functional check.
What if the Bolt Engages but Drags When the Door Reopens?
Watch the release sequence and check whether the bolt retracts to the position specified for the model. If the tip still projects, look for binding or a travel issue before changing the strike position.
Can I Reuse the Existing Floor Strike With a New Automatic Flush Bolt?
Confirm the strike and bolt are compatible. Check the strike opening, available depth, alignment, and the assembly documentation where applicable. Ask the supplier to verify the combination if the hardware schedule is unclear.
What Photos Help Diagnose an Intermittent Flush Bolt Fault?
Capture the head and floor strikes, the top and bottom bolt tips, and the meeting edges of both leaves. A short video of a normal closing cycle can also show whether the symptom starts before or after the active leaf contacts the actuator.


 English